
 I made my own custom inserts using Harbor Freight anti-fatigue floormats and inexpensive colored craft foam. It cost me about $20 to get all the supplies I needed, but I'll be able to make several inserts for that price.
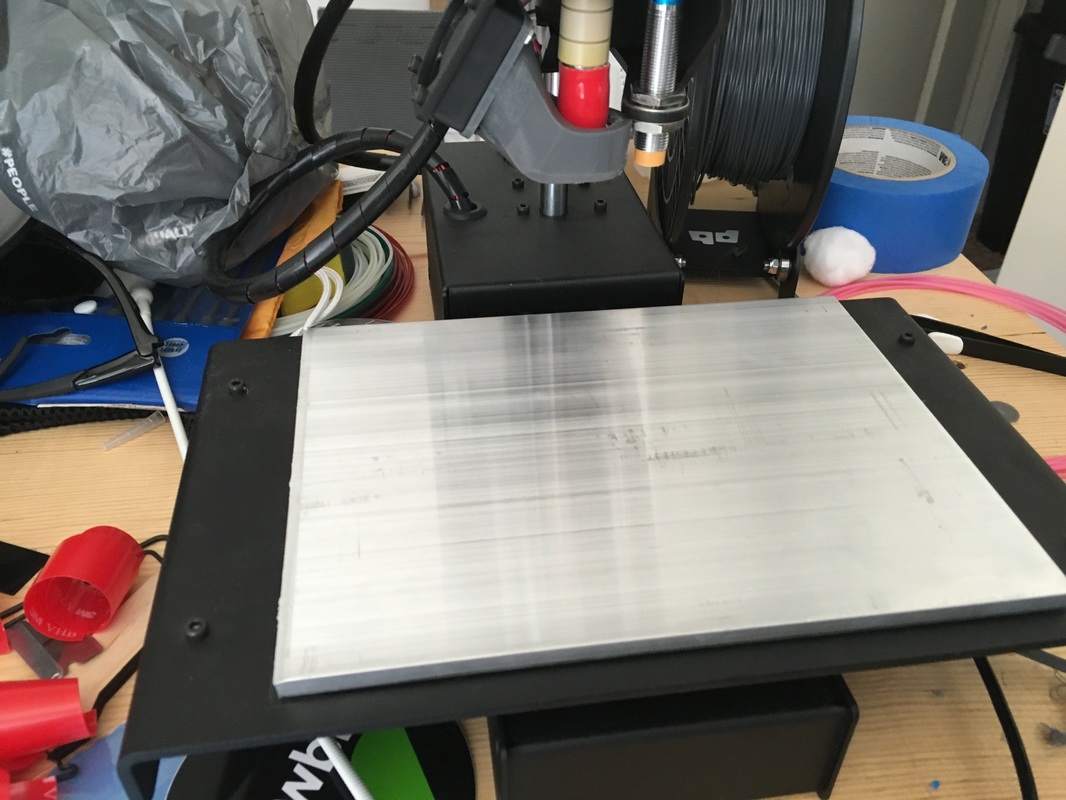 I've been vexed by a problem with my Printrbot Simple Metal since day one: The bed isn't flat. It's limited severely what I'm able to print and has meant that I haven't gotten as much use out of it as I had hoped. Printrbot even kindly sent me a second bed, with the same problem.
The way the bed of the printrbot simple metal is designed is inherently flawed. It's relatively thin gauge aluminum that is bent on the ends by a brake. The result of that process means that the bed will always have some degree of warp in it, which is no bueno for 3D printing. I have contemplated upgrading to the heated bed, but pouring money into problems usually ends badly for me, so I tried something else instead. I looked around on ebay, and found that 3/16" aluminum bar extrusion is fairly cheap to come by for about $10-15, so I bought a 6"x 8" piece from Metal Remnants Inc. on ebay. I stuck in to the original bed with some 3M VHB tape, and so far, the results have been fantastic! For about $15 my experience with my Simple Metal has improved immensely. If you have a Printrbot Simple Metal and you're frustrated with the bed, I highly recommend this simple upgrade. I finally got my act together and moved all my supplies to plastic storage bins. My organization is on its way to being 100% better than it was just a week ago, but I still need a way to make sure things get back in the right place next time I put them away. One super simple option is to use a label maker- it works great and I've done it in the past, but this time I decided to ratchet it up a notch and cut some custom labels with my vinyl cutter. 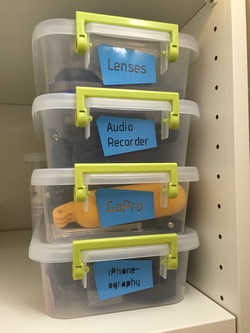 The finished labels. I think they're pretty awesome. The process was pretty simple, if you've ever used a vinyl cutter before you'll know the drill. I quickly made a shape that I thought looked cool, and then I found a font I liked called Advent Pro on Google Fonts. After that it was just a matter of copying the shape and adding the text labels I wanted, and sending the design to the cutter.
I weeded all the bits of vinyl I wanted to remove, though it was a little tricky saving the insides of the small letters so I ended up bagging it on a couple of them and going for the stencil look. After that I used blue painters tape that had been stuck to my shirt a few times to de-stickify it to transfer the vinyl to the bins. |
JoshI've been a maker as long as I remember. I recently decided to share. Archives
May 2016
Categories
All
|
 RSS Feed